

Presented in partnership with Man Crates…
The BroBible team writes about gear that we think you want. Occasionally, we write about items that are a part of one of our affiliate partnerships and we will get a percentage of the revenue from sales.
–
On a scale of ‘useless to MacGyver’, I’m somewhere in the middle. I’m far from being the handiest person I know but I’m able to navigate a workshop and if I’m given the right tools I can follow just about any instruction manual on the planet. One area where I struggle is the artistic side of DIY crafts. I also lack patience. I’m here to challenge any of you crafty bros out there to test your skills on this DIY kit because while you might think you’re handy this kit is challenging regardless of your skill level but it’s also incredibly rewarding when you make it to the finish line and have an heirloom-quality knife that will last a lifetime.
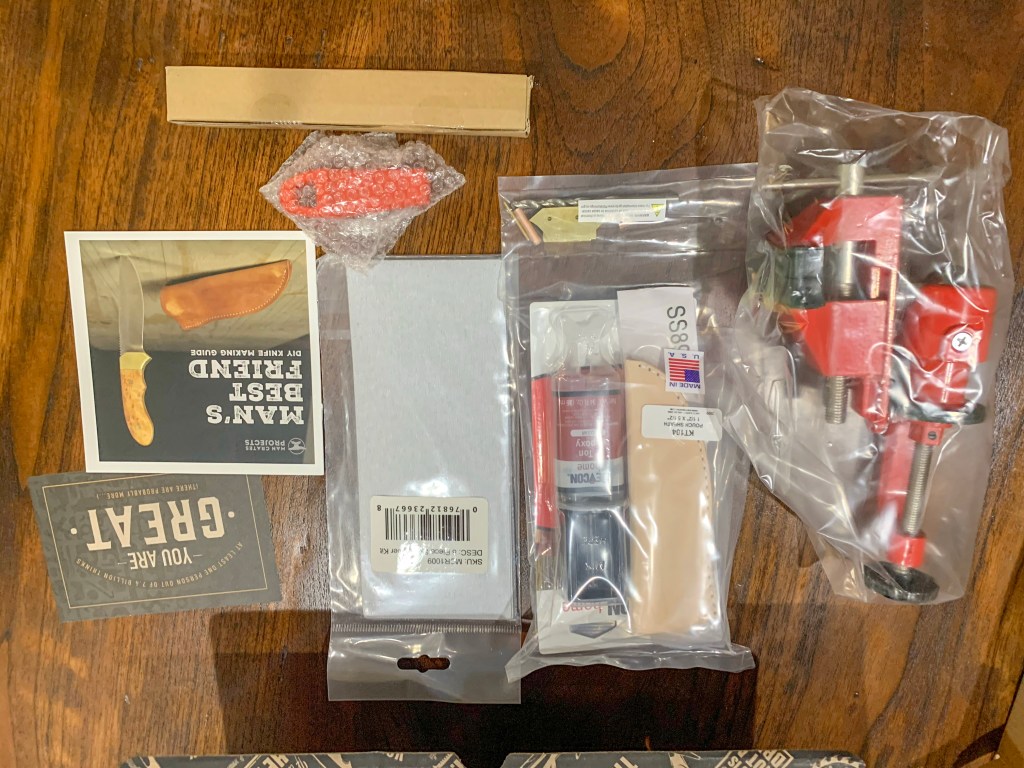
The kit comes with everything you need to build their wood-handled knife. The box arrives with the Shawnee Skinner Blade, Maple Handle Scale Set, Brass Bolster Set, Leather Sheath, Pins, 2-Ton Epoxy, Files, a Vise, Wood Finish, and Sandpaper. I figured it would take me a day or two to assemble. I was wrong.
There are A LOT of 5-star reviews on the ManCrates Knife Making Kit ($149) and I should’ve probably read some of those before I jumped in headfirst but I mentioned above I lack patience. So I laid everything out and immediately realized I was in over my head. Then I did the thing every millennial does and searched YouTube for advice. I found one career hobbyist who spent an entire week perfecting his knife and that’s when I realized the scope of this project is way more than I thought. By Day 4 when my hands were raw from filing and sanding wood nonstop for hours on end I realized that I was a sweet Summer child days before.
BUY MAN CRATES KNIFE MAKING KIT HERE
The reviews on this kit range from ‘I build knives from scratch all the time and thought a kit would be lame but this was incredibly challenging!’ to people discussing the scope of shaping, sanding, and polishing. For my part, I tried to shape the wood to fit the actual blade underneath. I’m not artistic enough to imagine and carve out a unique handle shape. But what I never expected is how long it would take me to do this all by hand using the tools in the kit. It IS POSSIBLE to build the knife from scratch using nothing but your hands and the tools in the kit but using a sander, Dremel Drill, and a saw could save you a decent amount of time.
My initial plan was to take a video of my progress but I abandoned that on Day 1. I did take a ton of photographs though so you could see the progression from attaching the bolster, epoxying on the handles (which took two days because I messed up the first try), shaping the wooden handle using the files and my hands, sanding, repeating that process over and over and over, polishing the wood, realizing I don’t love my finished project, going at it for another full day, then finishing my knife.
I have to admit that putting these pictures on the Internet makes my palms sweat a little bit. While the finished knife looks great to me, I know there are skilled craftsmen out there who could blow me away with their work. And that’s why I’m issuing a challenge to everyone out there to attempt this DIY Knife Making Kit from ManCrates and show us your finished knife. Here’s my journey from start to finish.
Step 1) Laying all the parts of the kit out to see what I’m working with.

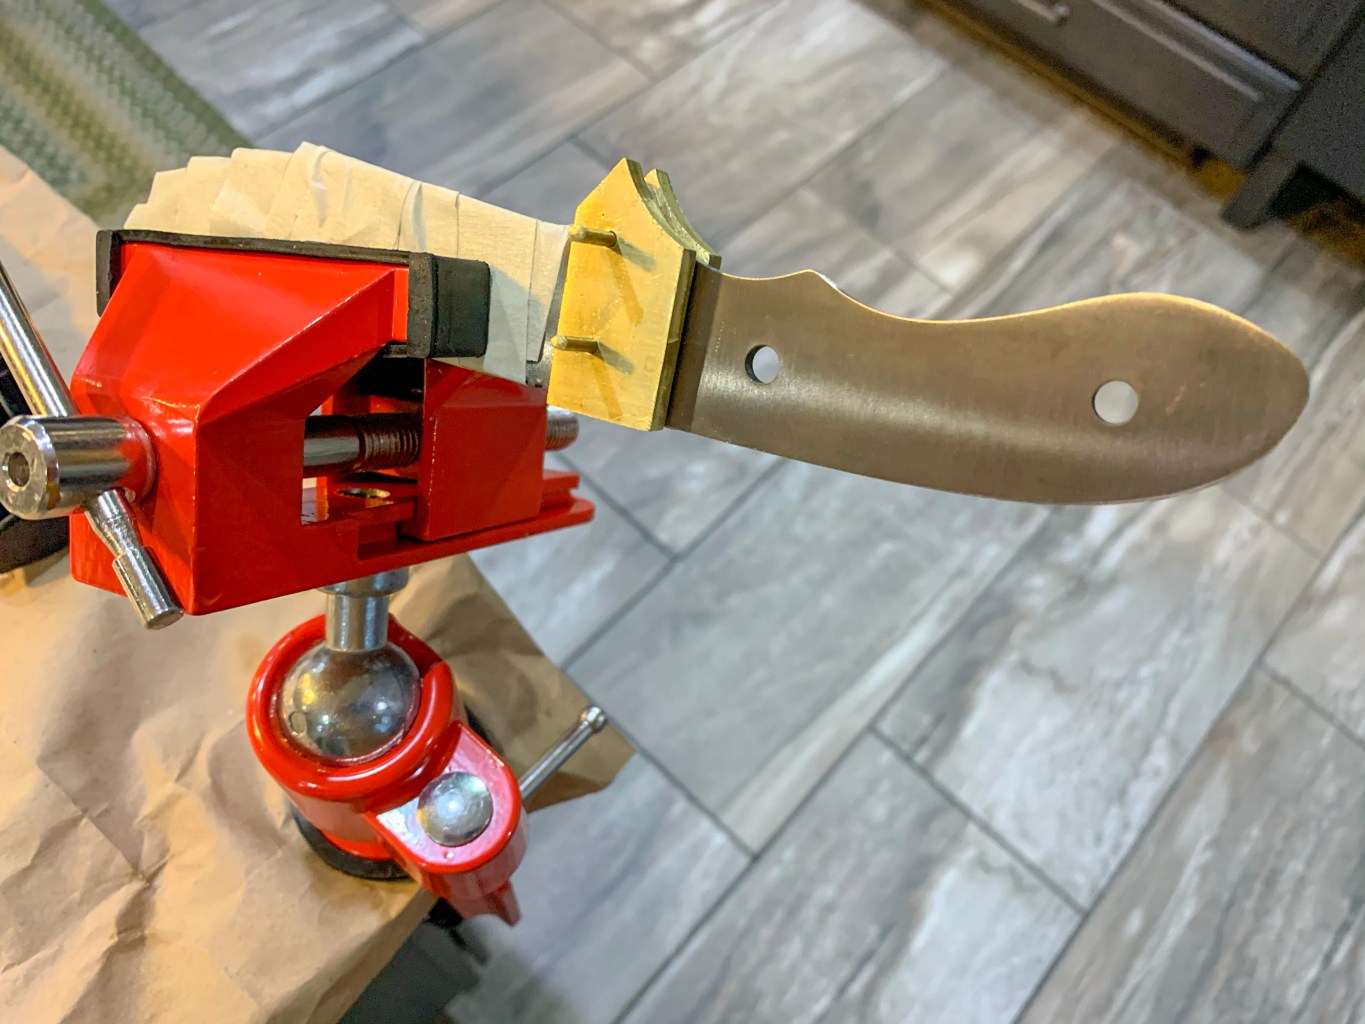
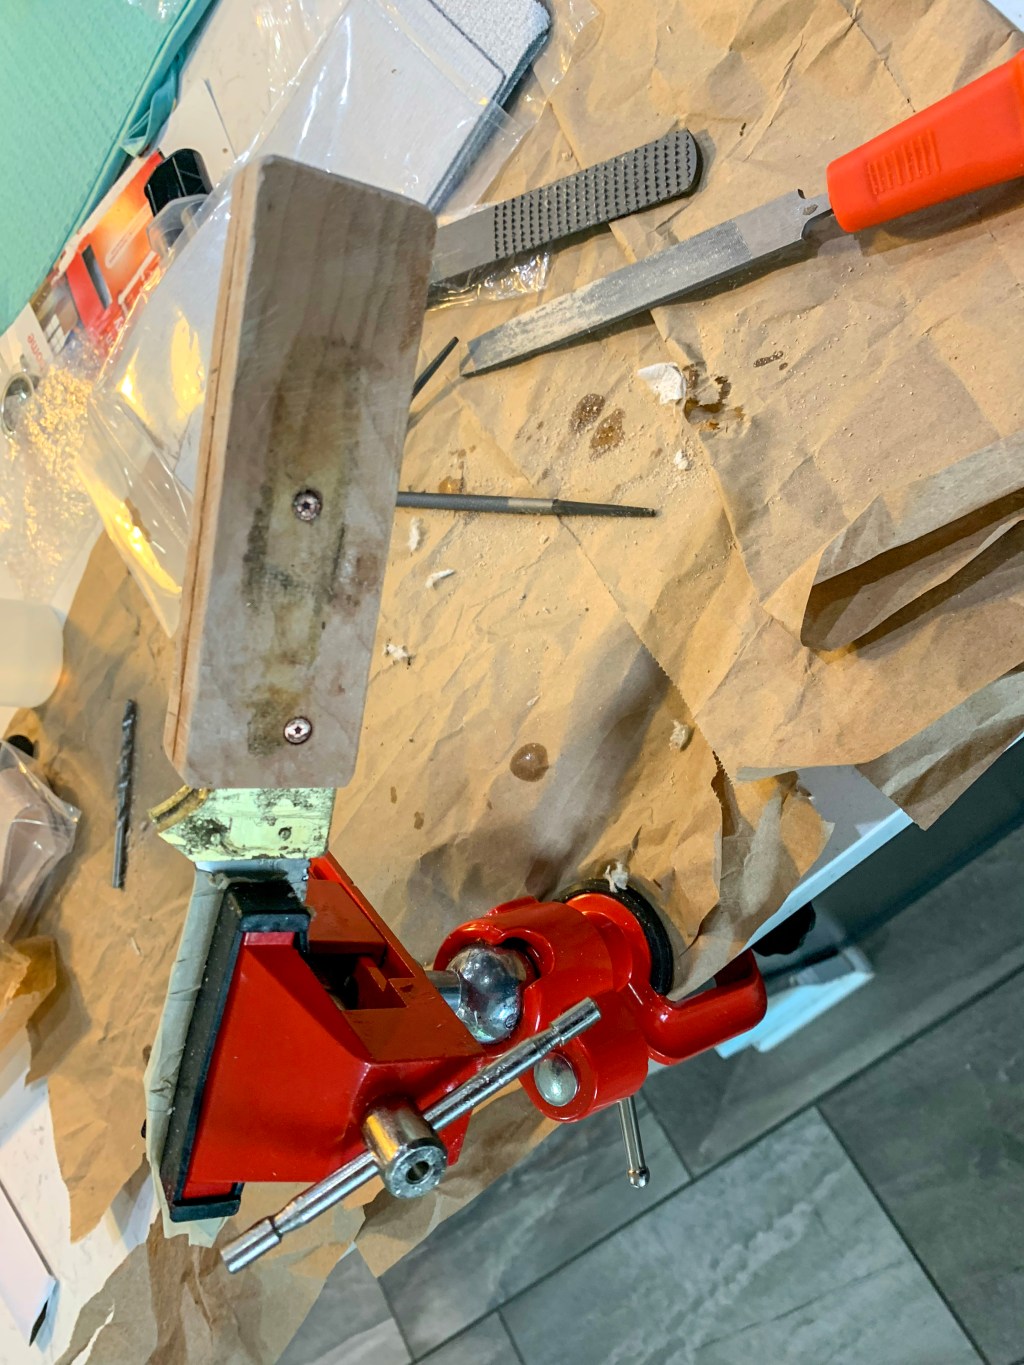
Step 2) attaching the brass bolster and pins. I don’t know why I expected to just slide them in there and add some glue but there was a decent amount of hammering taking place after I realized it took some elbow grease to get the pins in place.
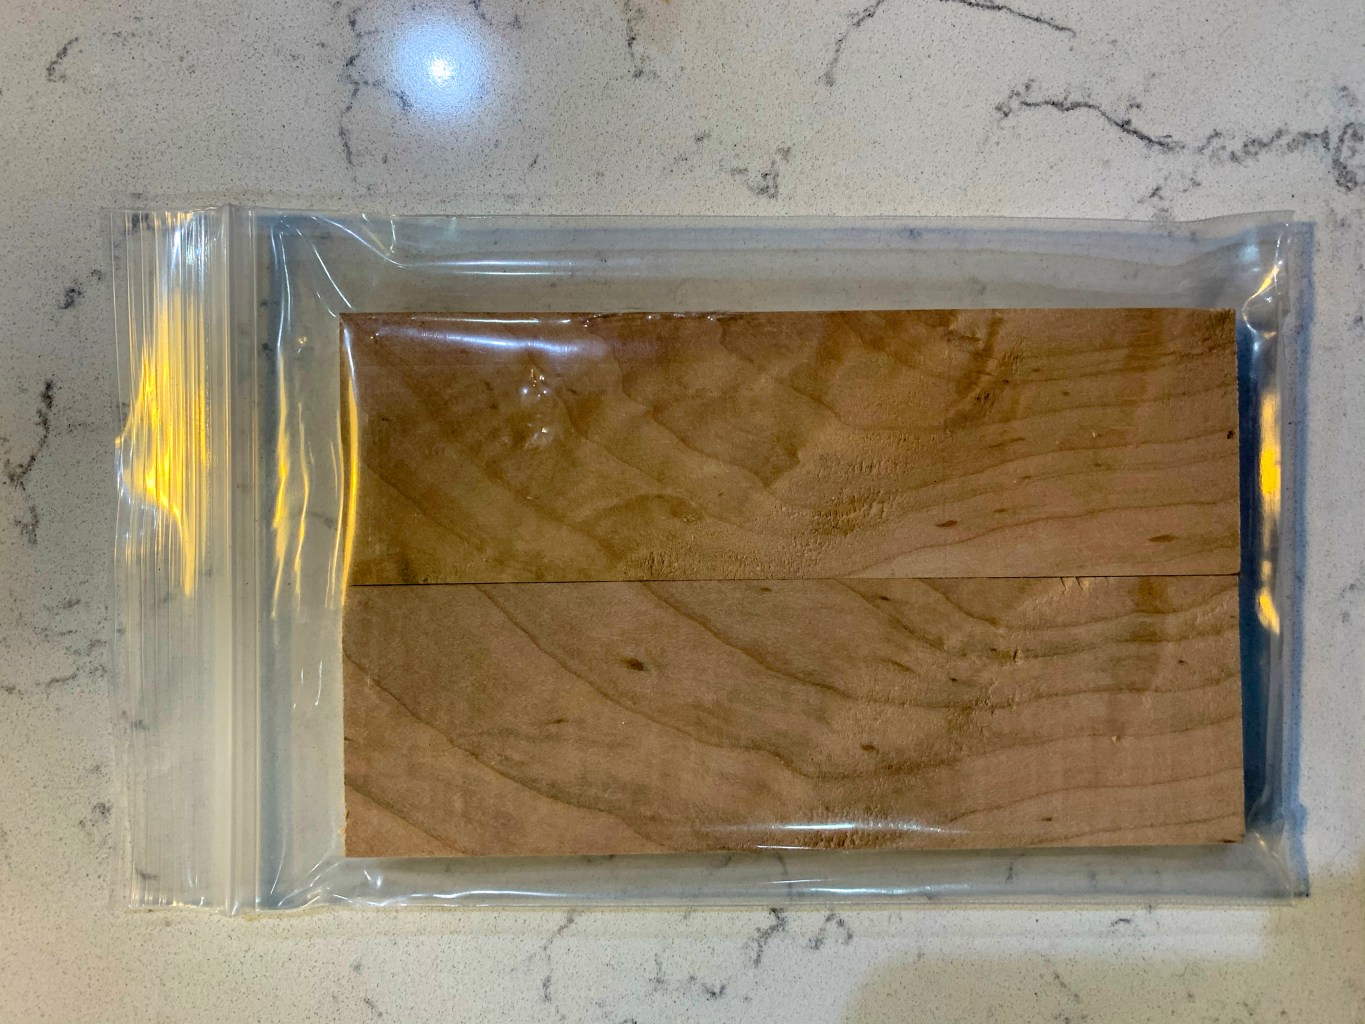
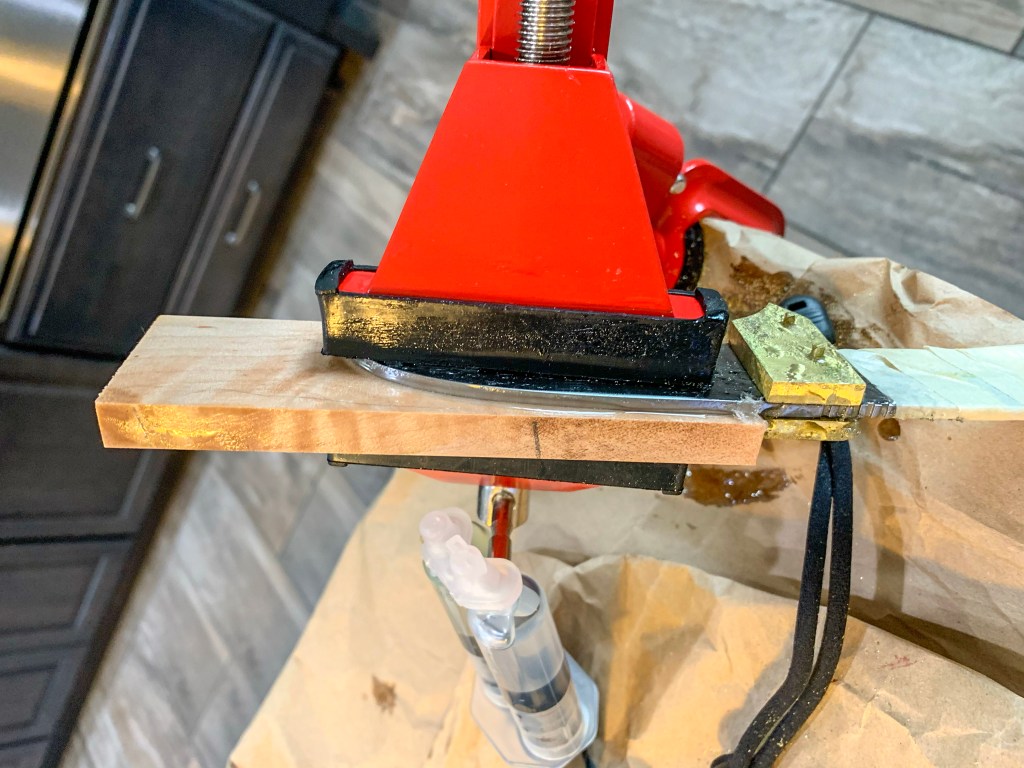
Step 3) Attaching the Maple Handle Scales. This was my first time using epoxy in years. I made a massive mess. But I glued one side, put it in the clamp, and let it sit overnight so the epoxy could set. Then I drilled through the holes to attach the other scale and the pins. I’d lined up everything but the pins were sticky for me. This was most likely caused by me going overboard with the epoxy. I figured I’d be sanding off all the excess epoxy later anyways, I just didn’t realize that I’d need to hammer the pins through because of the clogged-up epoxy.

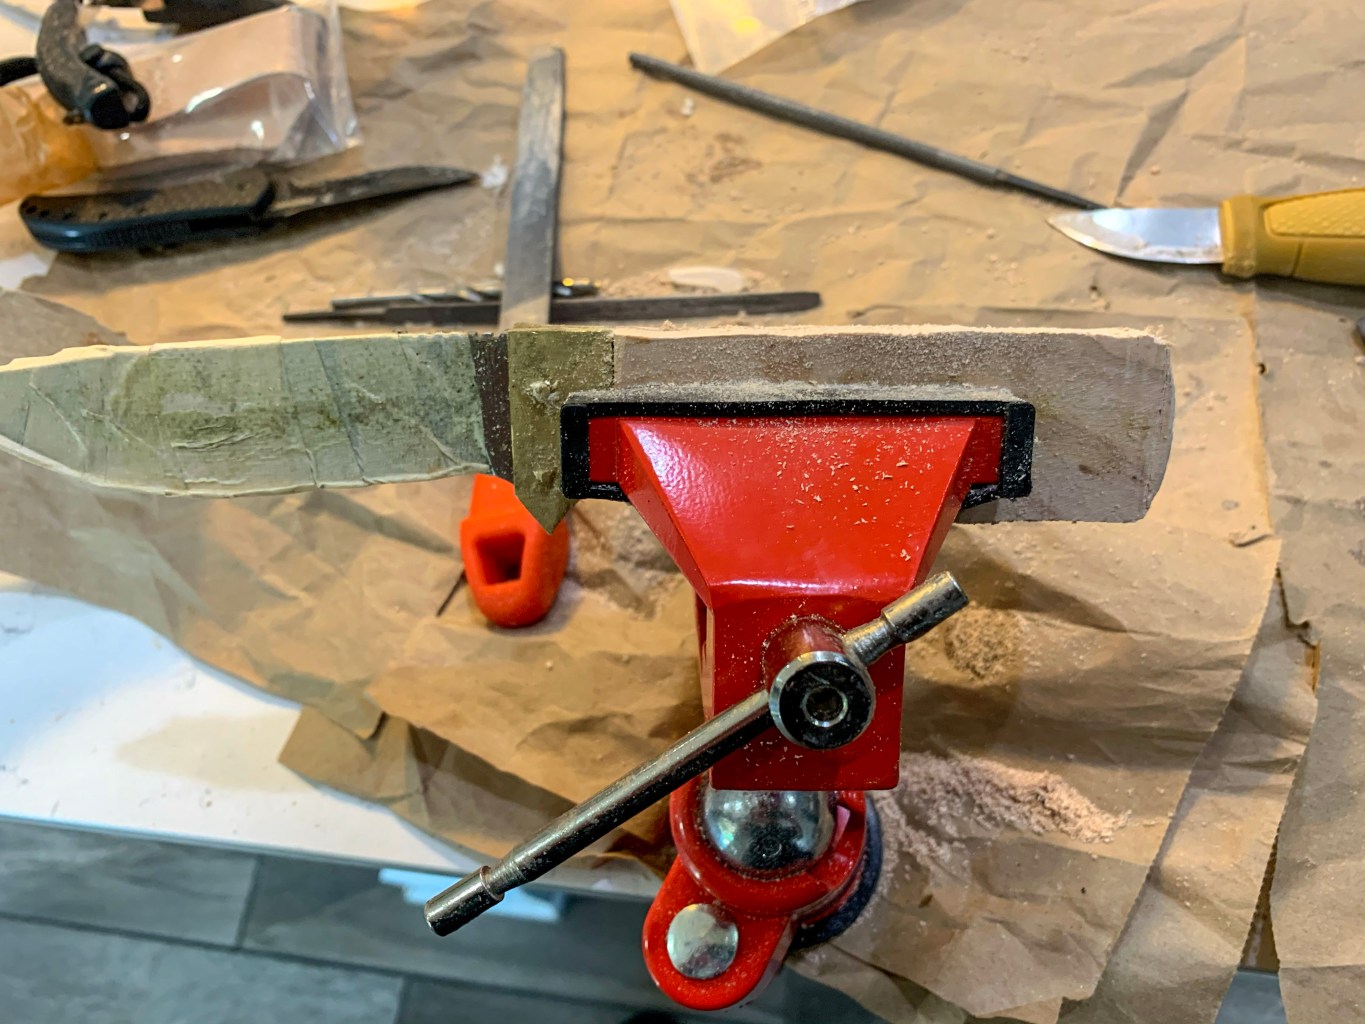
Step 4) it’s around now I realized that this thing was light-years from actually looking like a proper knife and I had days worth of shaping, filing, and sanding ahead of me. After sanding for A LONG TIME, I made the decision to just cut off a large chunk of the excess wood at the end. Unfortunately, I don’t own a saw so I had to use the tools in front of me and another pocket knife to cut off the hard wood.

Step 5) Once I clipped off that excess I started shaping away. Shaping and shaping and shaping and shaping. Here’s the progress from Tuesday night through Thursday morning:

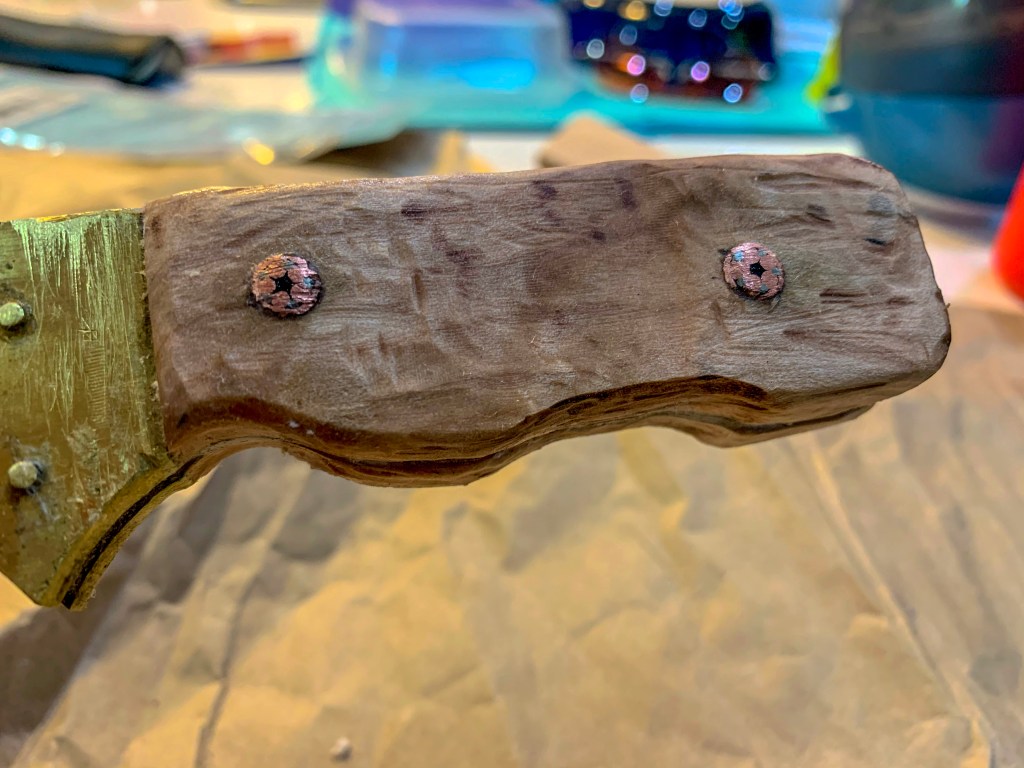
Shaping the blade is something I struggled with artistically. Knowing when to flip the switch from ‘just keep scraping away the wood you don’t need’ to ‘it’s time to start adding shape and texture’ was confusing to me. Eventually, I decided the gunked-up handle covered in epoxy that looked like a steak knife needed to get shaped into something I could hold firmly in my hand and use as a cutting tool. So I started transitioning from the shapeless wood to something that looked like an actual pocket knife:

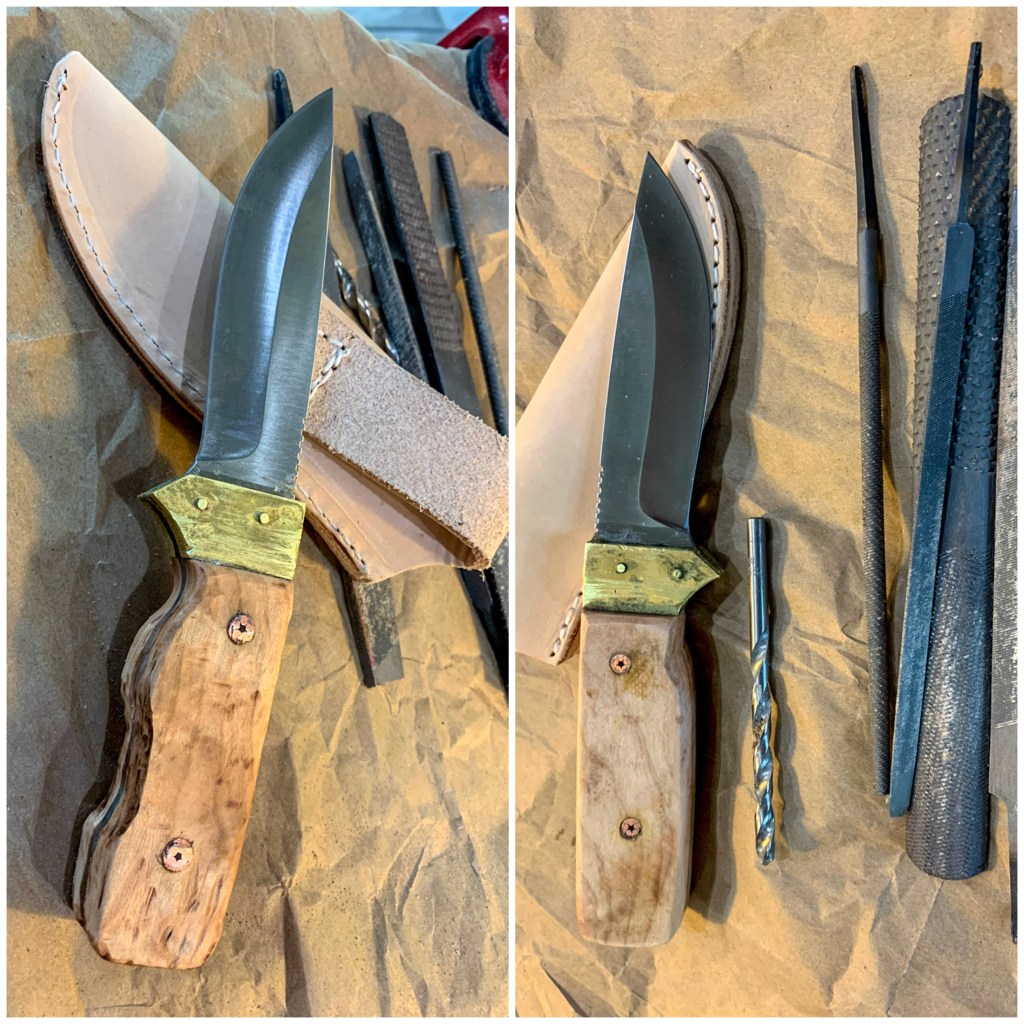
And after a week of working away at this knife I’d reached my finishing point:

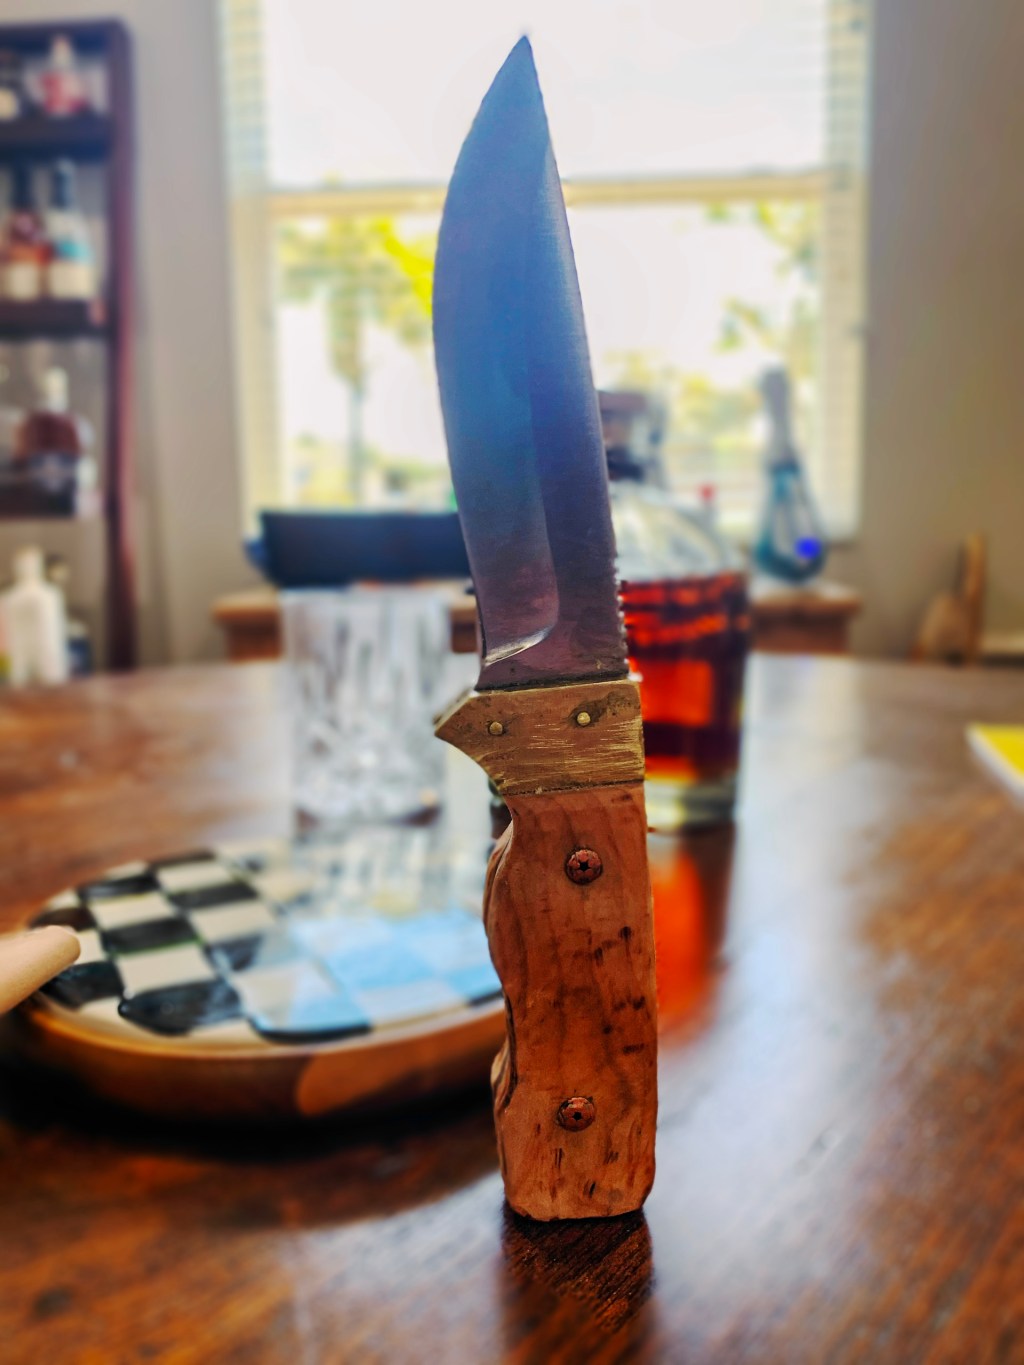
Ultimately, I could’ve spent several days polishing and refining the knife to perfection but that’s not my style. I wanted it to look a little gritty and this finished knife fits my vision for the project. Part of the beauty of this challenging DIY Knife Kit from ManCrates is you could buy ten of these kits and the knife could look VERY different each time.
Some tips to make this DIY Knife Kit go smoother for you than it did for me:
(1) If you have a Dremel drill it will go a lot faster. The Maple Wood Handle Scale is considerably longer than the Shawnee Skinner Blade underneath. You’ll want to take several inches of wood off the handle. I attempted to do it all by hand for days before I broke down and bought a Dremel for $49 at Lowe’s. That tiny drill enabled me to put the finishing touches on the knife and it also left some pretty burn marks on the wood.
(2) You’ll also want to tape up the blade using some sort of carpenter tape because it makes the process go a lot smoother when an incredibly sharp blade isn’t constantly exposed. Then, you’ll want some sort of acetone (nail polish remover works) to clean any leftover epoxy off the blade. One thing about this kit is the Shawnee Skinner Blade comes incredibly sharp so you don’t have to worry about sharpening that blade but you will want to take steps to ensure it stays clean. The 440c stainless-steel Shawnee Skinner blade is crafted in Japan and perfectly balanced. I was shocked in my ability to balance the wood out but using the blade as a guide underneath the wood really helped.
As my wife watched me struggle to shape, file, sand, (repeat) this knife she kept asking me who this DIY Knife Kit was for? I tried to explain there are literally millions of guys out there who love a challenging project and this was perfect. It’s not building a table from IKEA. You have to actually put some thought into what you want the knife to look like and then put in the sweat to build it using your hands.
And the fun doesn’t stop with this DIY Knife Making Kit. ManCrates has a Folding Knife Making Kit, an Expert Knife Kit – Stacked Birchbark, a Chef Knife Making Kit, Scrimshaw Knife Making Kit, and others. So once you’ve tackled the first DIY Knife Making Kit you can test your skills on these other ones.
To challenge yourself on this DIY Knife Making Kit from ManCrates just hit that button below!
Cass is a partner at BroBible and he’s been found here for the better part of a decade. He’s based out of Florida and you can contact him on Twitter at @casspa or via email cass@brobible.com
The BroBible team writes about gear that we think you want. Occasionally, we write about items that are a part of one of our affiliate partnerships and we will get a percentage of the revenue from sales.